The precise measurement solution for surface roughness and cutting edge preparation of tools.
myFocus
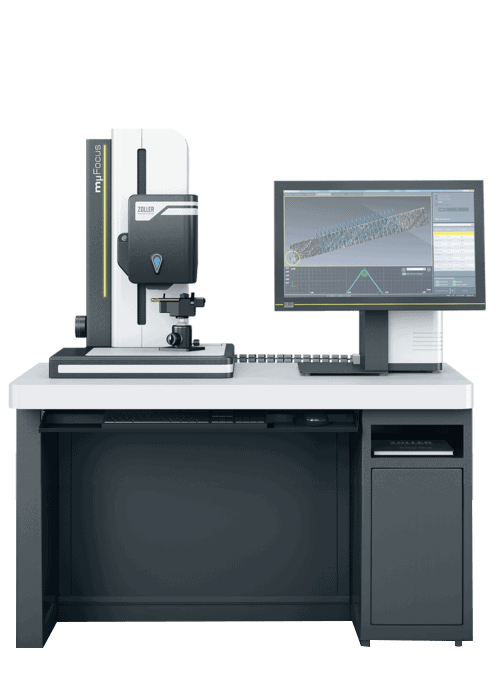
Uses non-contact measurement procedures to determine the surface roughness and cutting edge preparation of your tool.

myFocus
Overview
Use the ZOLLER myFocus to create fully optimsed tools. Looking to produce the perfect cutting edge? One that ensures a long tool life, minimal wear, optimal chip formation, and precision workpiece processing, thereby significantly lowering costs for production? The Zoller myFocus provides the perfect solution.
Achieve your goals with high-precision tool geometry and optimal surface textures customized to your specific application. If you want to ensure exact, standardized quality in your tool development, then the ZOLLER myFocus inspection machine is the right choice for your needs.

Turn the Extraordinary into a Matter of Habit
All of the functional and design elements, and all of the work processes performed by a ZOLLER myFocus have been carefully shaped and selected. The results are clear for anyone developing cutting tools: Never before has it been so easy to achieve an outstanding inspection of cutting edge preparation and surface roughness.
Guides You to the Finest Structures
The ZOLLER myFocus systematically approaches microstructures. Clear processes and supporting tools provide detailed insight of cutting tool edges and surfaces. You can detect wear quickly, create a 3D model with just one click, and easily measure cutting edge preparation and roughness.
myFocus takes multiple individual images to record comprehensive raw data, then uses it to calculate a 3D model of the cutting edge. Then you can complete a standardised analysis of the measuring results and prepare them graphically using pilot.
Detects Real Conditions
Tool surface roughness is an important criteria in determining the perfection of a tool. The ZOLLER myFocus provides a precise display of surface roughness.
myFocus uses raw data from the selected and scanned area to complete different analyses of the surface. It uses these to produce a corresponding profile, such as the Abbot curve, which can be used to display surface roughness.
2 in 1
Measurment of cutting edge preparation and surface finish
Refined
High-precision evaluation of areas and lines
User-friendly
Low training effort thanks to simple operation
Fast and precise
High-performance optics and “pilot” image processing
Robust
Workshop-ready design and alloy
Process reliability
Intelligent software and highest security standards
Ergonomic
Sophisticated, functional design
Economic
Premium quality at best price-performance ratio
Book your
in-person demo
Book a free demo for the myFocus at our Advanced Innovation Centre where you can see the full scope of ZOLLER technology and how it can transform the way you work.
Download the full specifications
Get the full technical data on the myFocus today. Discover the key data points including information on measuring range, accuracy and a full list of features.
